evanevery
Well-Known Member
- First Name
- Ed
- Joined
- Sep 10, 2019
- Threads
- 38
- Messages
- 998
- Reaction score
- 1,143
- Location
- Wisconsin
- Vehicles
- 2020 Taycan Turbo S, 2019 BMW i8, 2023 BMW iXM60
- Thread starter
- #1
Like many folks here on the forum, I wanted a way to temporarily mount my Front License Plate "when needed". I certainly don't want to drill holes in my front bumper to mount a plate. I am also not a fan of the tow hook plate mounts (I have this for my M4). I think they look pretty clunky and non-symetrical on the vehicle. So, here were my design goals:
1. A Removable License Plate mount
2. Easily/Quickly removable/installable requiring no special tools or process
3. Mounts on vehicle centerline in basically the same place as the Porsche mount.
4. No permanent changes to vehicle if possible. Minimal, otherwise.
5. Unobtrusive when removed.
6. Will not interfere with vehicle cameras or sensors.
7. Solid and Structurally sound when installed (even at "Autobahn" speeds).
8. Will not scratch or damage the vehicle when installed
9. Capable of supporting a license plate transponder (EZPASS) as well as the license plate itself.
10. 3D Printable and requiring no special attachment hardware.
11. *** VHB Mountable Variant for more permanent VHB tape (removable) attachment (also without drilling any holes).
After spending several days with a contour gauge, digitizer, and digital angle gauge/protractor ... and a bunch of test prints and tweaks along the way, I have something I am very happy with! I am providing the 3D Print Files at the end of this message if anyone else would like to take advantage of this design. Here are some photos and notes:
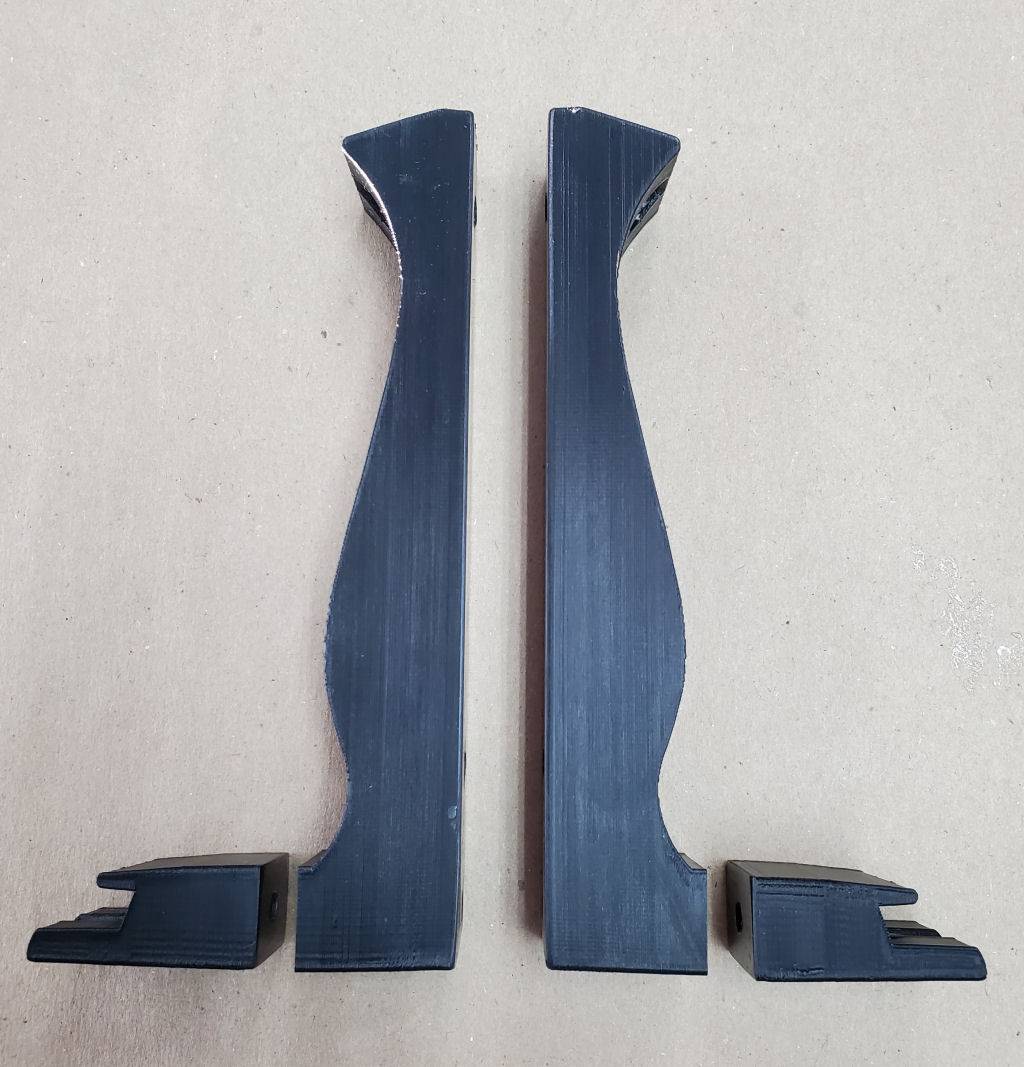
Here are the four basic pieces which make up the mount. The mount consists of 2 mounting blocks (left/right) and two upright supports (left/right). The vehicle requires a different left/right pieces as the bumper is raked a bit to either side as it wraps around the vehicle. (At the point the supports get installed, it is raked approximately 3.2 degrees back on each side). So, the "mounts" and the "supports" both have compound curves to accommodate the flow of the bumper:

You will note that the mounts and supports have six hexagonal recesses in them to perfectly accommodate (and hold) a 1/4-20 stainless nut. I put a small bead of black plastic epoxy behind each nut after I firmly seated them. This will simply keep the nut from backing away from the front of each hole when they are not tightened down (plate dismounted).:

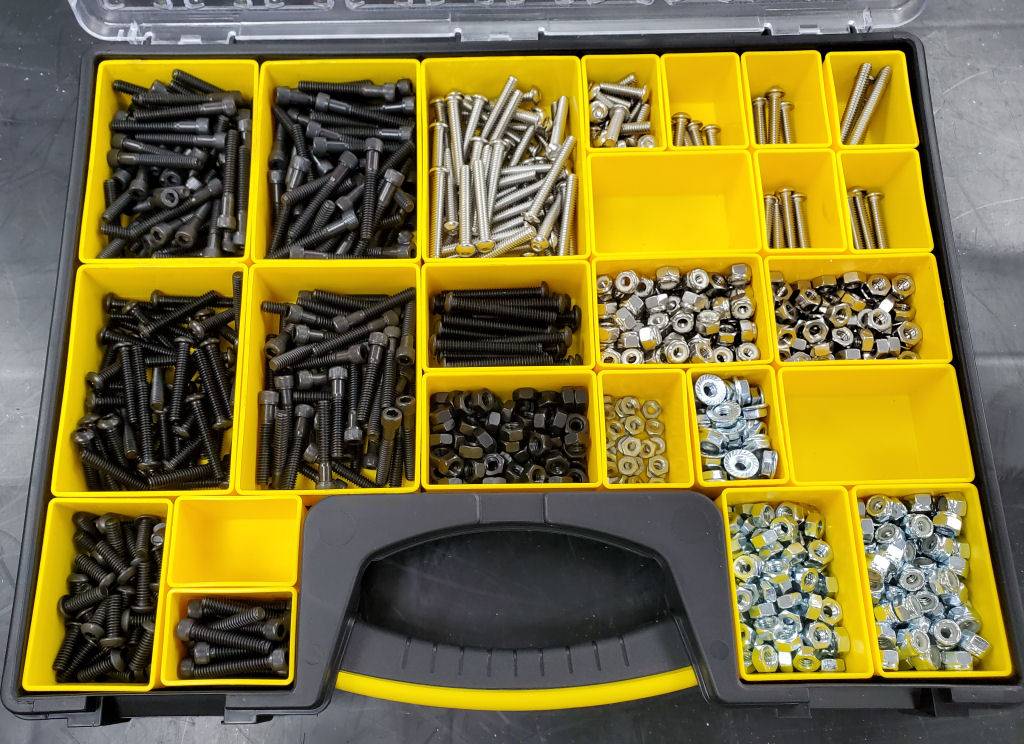
(Although I prefer metric fasteners, I used SAE bolt sizes since I have a very complete assortment of 1/4-20 black and stainless bolts and nuts. I expect 6mm hardware will fit as well)

The next thing I did was to put an adhesive backed fuzzy strip of Velcro on the back of each support. I then trimmed the sides of these strips with a razor knife so they fit the supports perfectly. I specifically sized the mounts to have about 1mm of distance between the support and the bumper when mounted (without the fuzzy Velcro). So, adding the soft Velcro strip fills this gap and provides a nice soft surface between the support and the bumper.

Also, the precise fit of the support w/Velcro provides a smooth contact area for the plate to push straight back on when at speed. This ensures very little torsional loading on the actual mounts attached under the bumper. Basically, at highway speeds, the plate would effectively stay in place without any mounts at all!
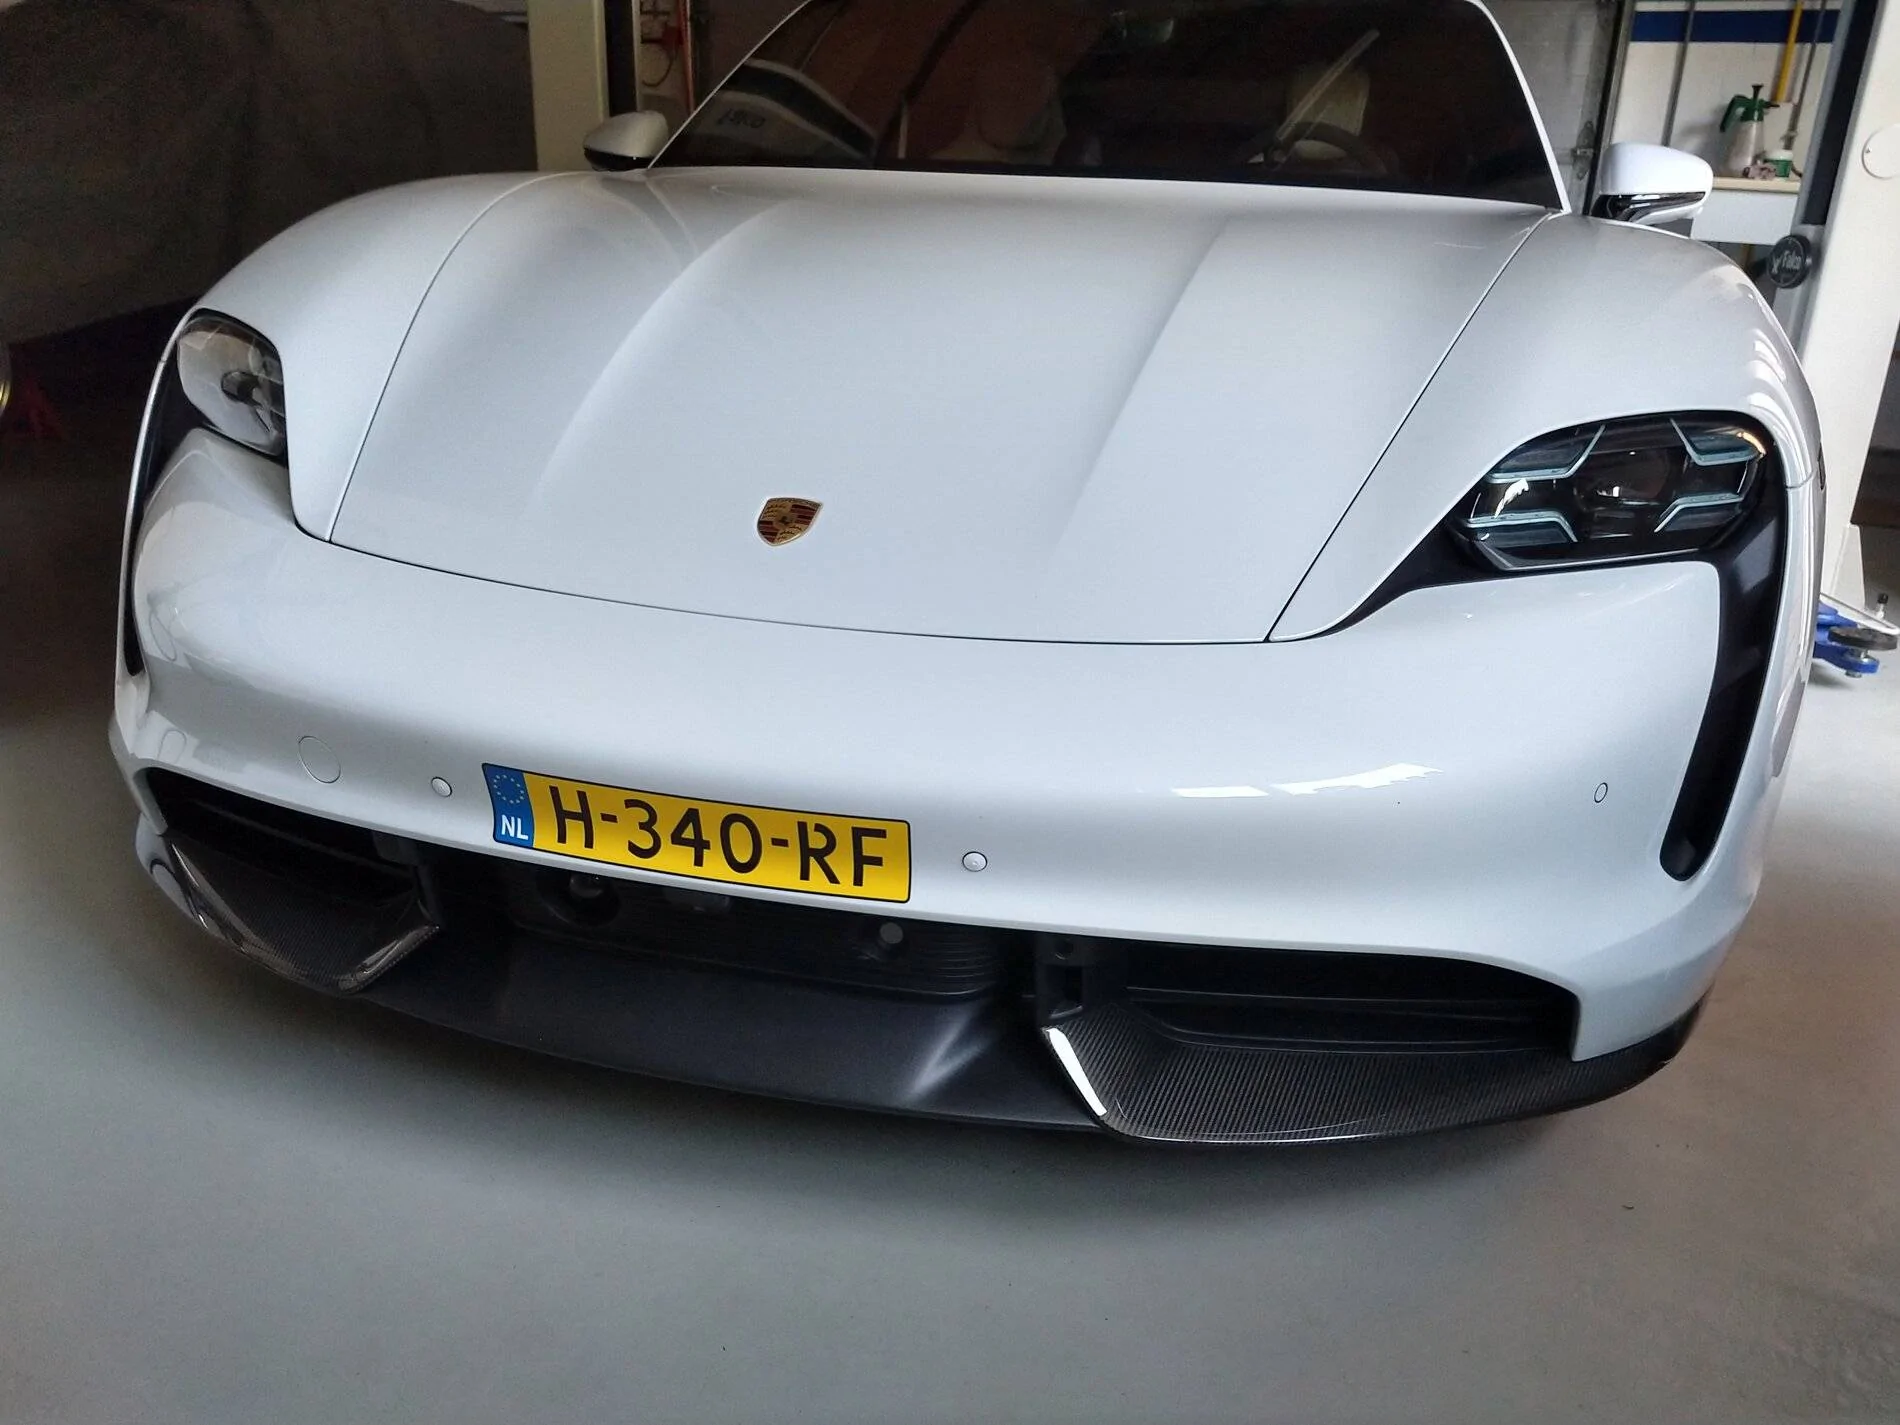
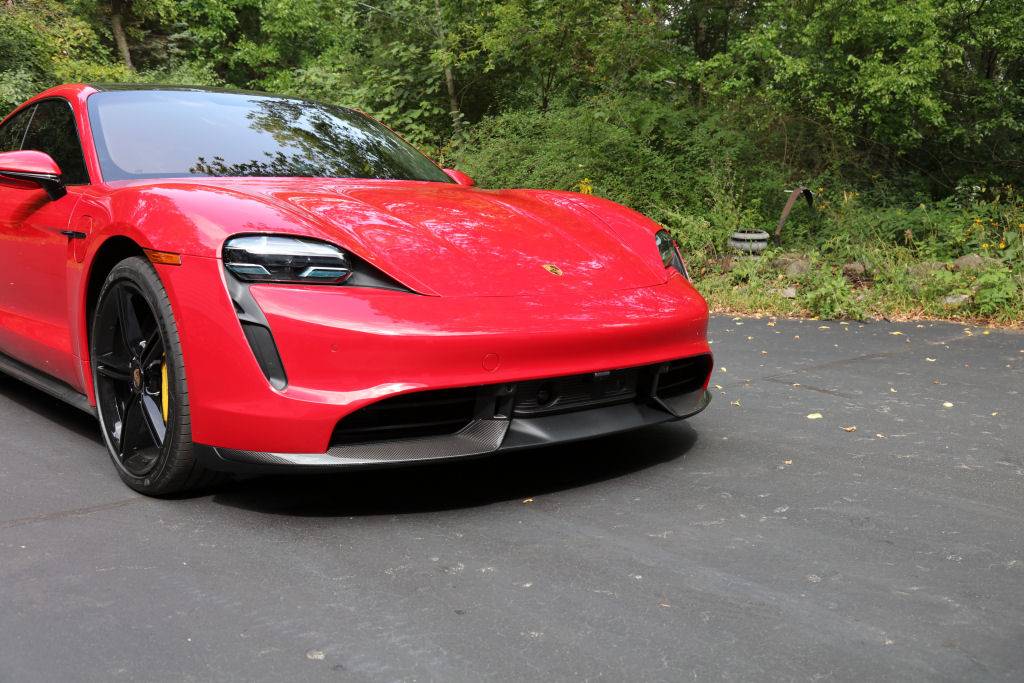
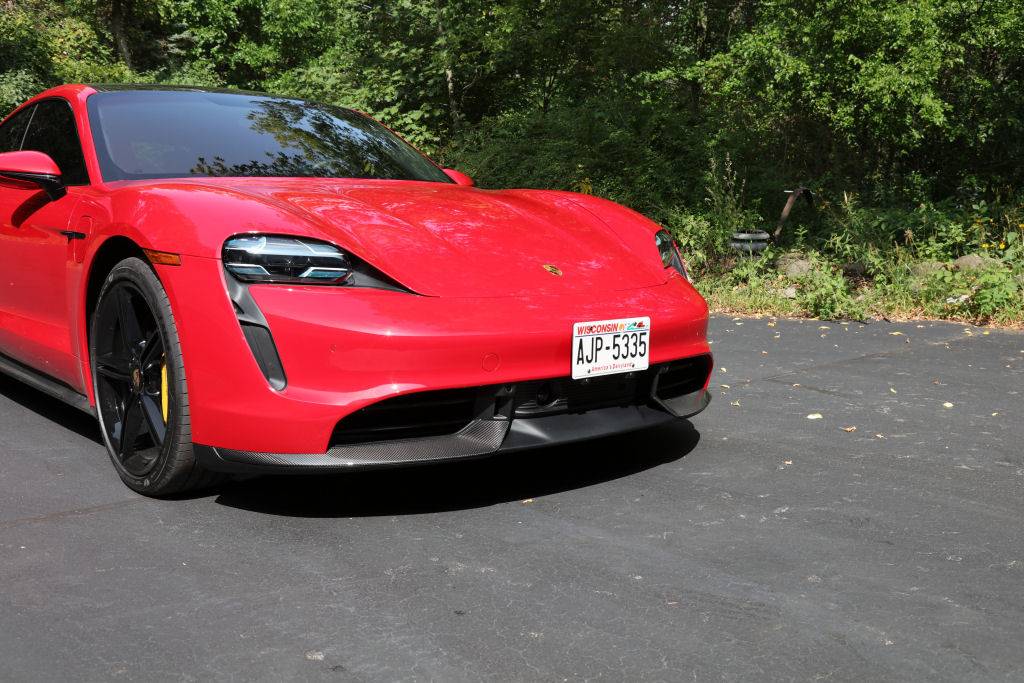
So, here is my car with no front plate or mounts installed at all (for reference):

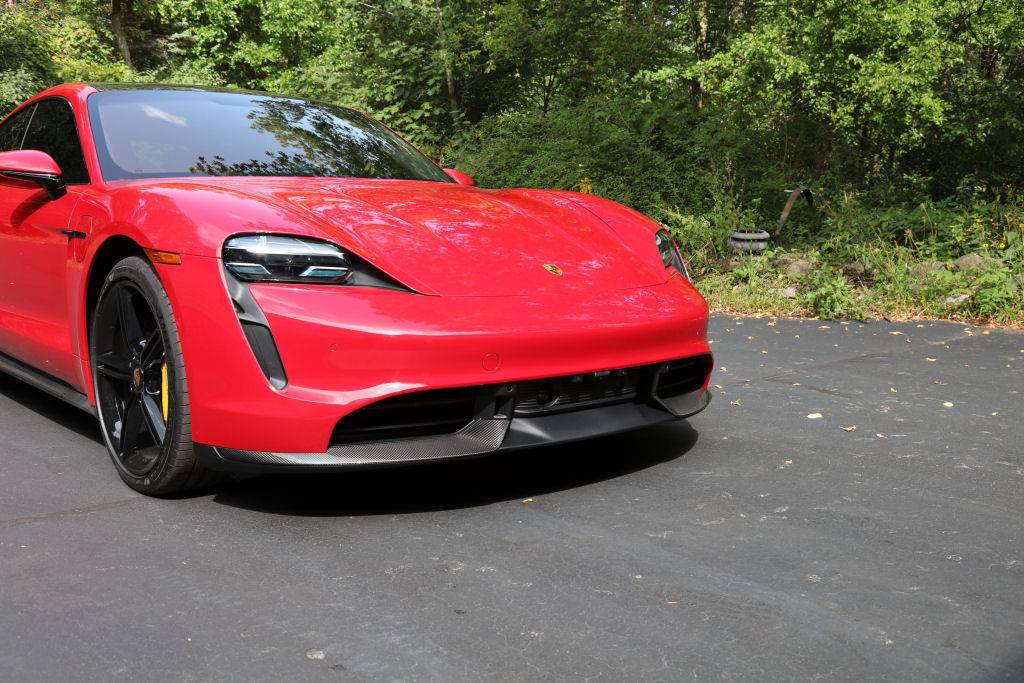
...and here is my car with just the little mounting blocks installed. You will note that they coexist nicely with the front camera and a few other items in that little grill area. If you didn't know they were added, you would probably never notice them.
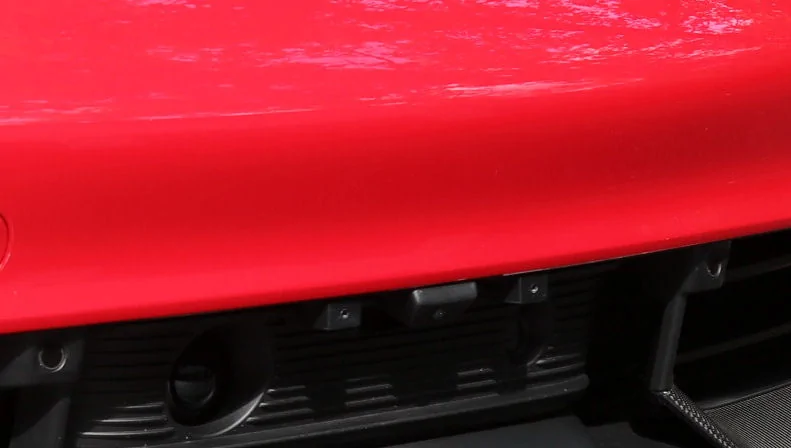
...and a close up of the mounts as installed:

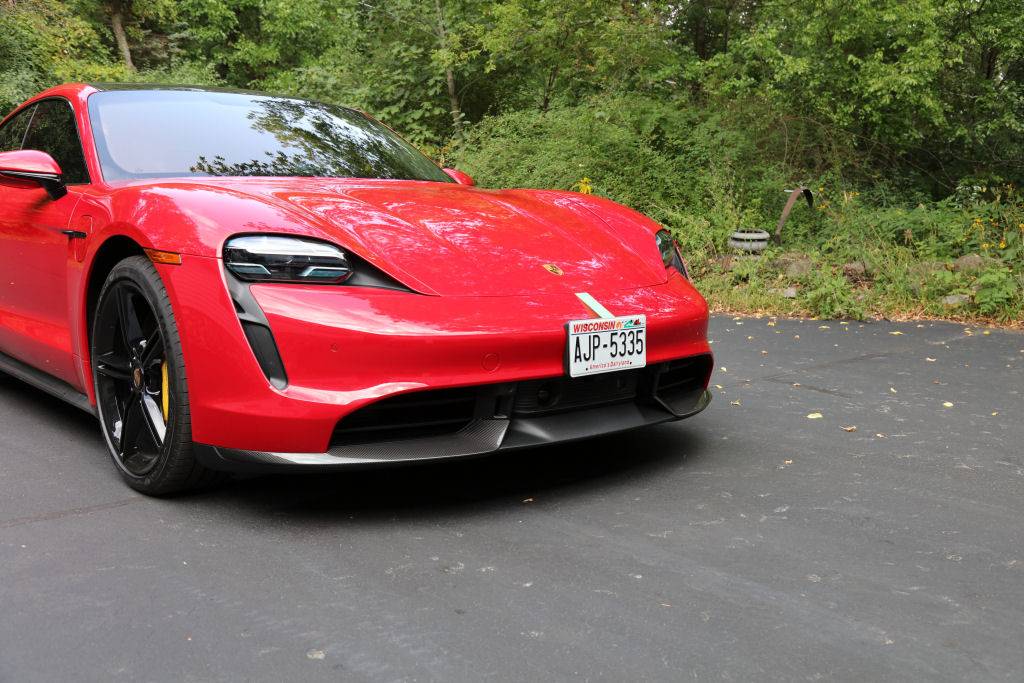
Here is the vehicle with the Removable Plate installed. Note that it only takes two screws and a screwdriver to mount the plate!
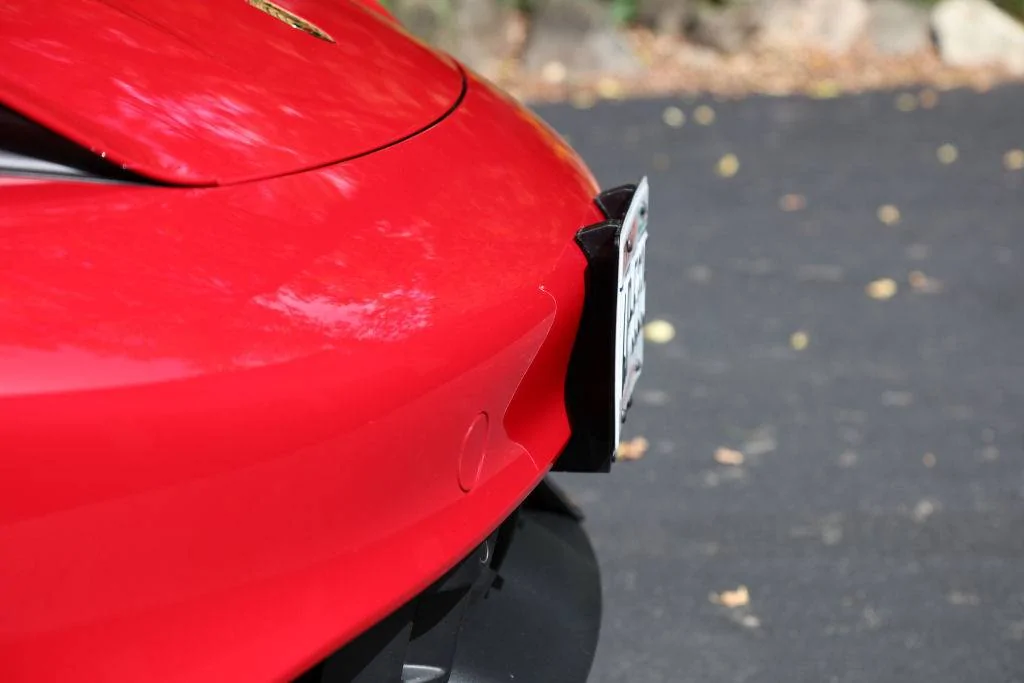
A close up side view to show the fitment:
..and here is the Porsche Bracket temporarily (green Tape) mounted (for comparison):
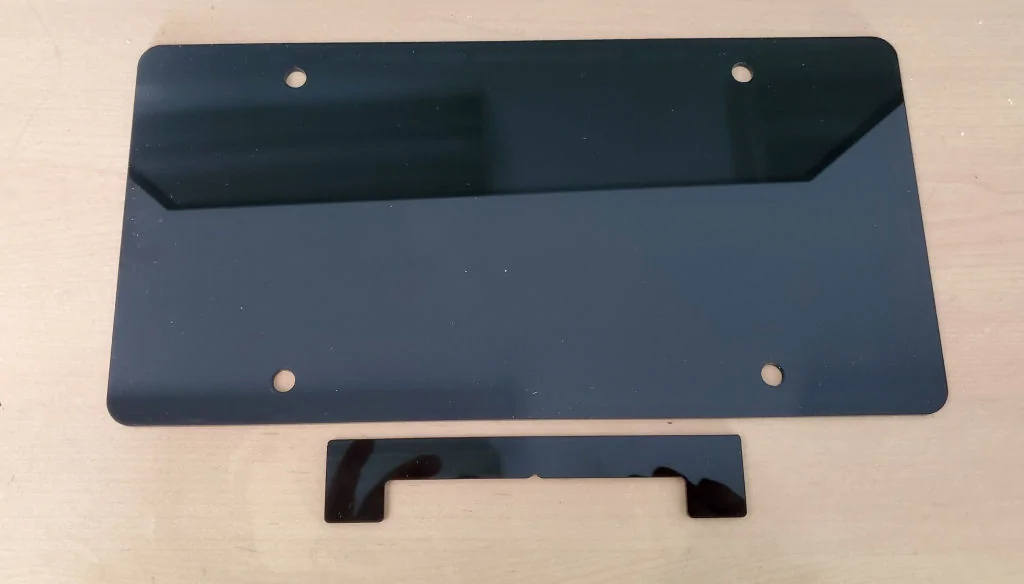
Although you can mount your license plate directly to the supports, I also decided to laser cut a piece of 1/8 inch black acrylic to use as a backing plate to increase rigidity. While I was at it, I cut an alignment tool to help ensure the mounting blocks were perfectly centered. The tool uses the same ridges on the grill for alignment as does the Porsche front plate mount:

If you are going to print these yourself, I would note the following: Print them with ABS, as PLA is not intended to stand up to direct sunlight (it will "migrate") ...and the following installation tip: Use the alignment tool (or empty supports) to manually position the blocks when you attach them to the black plastic grill. Don't try and attach them using the supports and a plate pre-mounted. If you don't get the plate perfectly mounted to your supports then you risk not having the mounting blocks optimally seated. Seat the blocks first. The holes in the US License plates are actually a little larger than 1/4 inch so there will be a bit of play in the plate to align it AFTER the blocks are firmly attached. Get the blocks firmly seated and attached in the proper location first (use the alignment tool) - then worry about the supports and plate later.
UPDATE: See Notes in posting BELOW for updated adhesive recommendations.As far as adhesive goes, I was initially going to use silicone. Silicone provides a pretty good "stick" and can generally be removed later without damage to the surface. Since the design of the supports hug the bumper profile nicely, there is very torsion on the mount and most of the force would be straight back. This incurs very little "challenge" to the adhesive. That being said, I decided to use a more permanent "plastic epoxy" since the little mounting blocks ended up being so unobtrusive when installed. IOW: I don't think I would ever need to remove the little mounting blocks so I decided to go with a more permanent, robust, adhesive: https://www.amazon.com/Permatex-84145-Permapoxy-Black-Plastic/dp/B00THUUVSU
Since I went through all the work to get the compound curves of the bumper laid down, and the design already has a 1mm gap to accommodate the fuzzy Velcro, it was a quick step to modify the supports to accept VHB tape for folks who want a more permanent plate attachment solution (instead of the Porsche bracket which requires drilling). The VHB tape essentially fills the same gap as the fuzzy Velcro so the support dimensions are basically the same. VHB Tape holds very well and is generally removable as it can be slowly (and CAREFULLY) peeled away from a surface without any damage. The VHB supports are also a bit shorter as they don't require attachment to any mounting blocks. So, if you want to try a "VHB Tape" mount, I have also included those print files as well. NOTE That virtually NOTHING sticks to a Ceramic Coating, so if you want to try a VHB Tape mount be sure a buff the coating away first if you have it (then reapply after attaching the supports). VHB should stick fine to naked PPF though...
I have attached the following set of files:
1. 3D Print Files (STL) for the mounts and supports
2. Optional Laser Cut Files (DWG, DXF) for Plate Bracket and Alignment Tool
3. 3D Print Files (STL) for the shorter VHB Mountable support variant
If anyone has any questions about the design, or desires more detailed installation information, please let me know. If you print and use this design please also let us know. Suggestions are also appreciated!
Update: I'm curious how well the epoxy will stick to the little black grill under the bumper. (If its made of polyethelyene then I might need to try a different adhesive). My epoxy is currently curing and I should be able to get a better idea of its relative holding capacity sometime tomorrow.
1. A Removable License Plate mount
2. Easily/Quickly removable/installable requiring no special tools or process
3. Mounts on vehicle centerline in basically the same place as the Porsche mount.
4. No permanent changes to vehicle if possible. Minimal, otherwise.
5. Unobtrusive when removed.
6. Will not interfere with vehicle cameras or sensors.
7. Solid and Structurally sound when installed (even at "Autobahn" speeds).
8. Will not scratch or damage the vehicle when installed
9. Capable of supporting a license plate transponder (EZPASS) as well as the license plate itself.
10. 3D Printable and requiring no special attachment hardware.
11. *** VHB Mountable Variant for more permanent VHB tape (removable) attachment (also without drilling any holes).
After spending several days with a contour gauge, digitizer, and digital angle gauge/protractor ... and a bunch of test prints and tweaks along the way, I have something I am very happy with! I am providing the 3D Print Files at the end of this message if anyone else would like to take advantage of this design. Here are some photos and notes:
Here are the four basic pieces which make up the mount. The mount consists of 2 mounting blocks (left/right) and two upright supports (left/right). The vehicle requires a different left/right pieces as the bumper is raked a bit to either side as it wraps around the vehicle. (At the point the supports get installed, it is raked approximately 3.2 degrees back on each side). So, the "mounts" and the "supports" both have compound curves to accommodate the flow of the bumper:
You will note that the mounts and supports have six hexagonal recesses in them to perfectly accommodate (and hold) a 1/4-20 stainless nut. I put a small bead of black plastic epoxy behind each nut after I firmly seated them. This will simply keep the nut from backing away from the front of each hole when they are not tightened down (plate dismounted).:
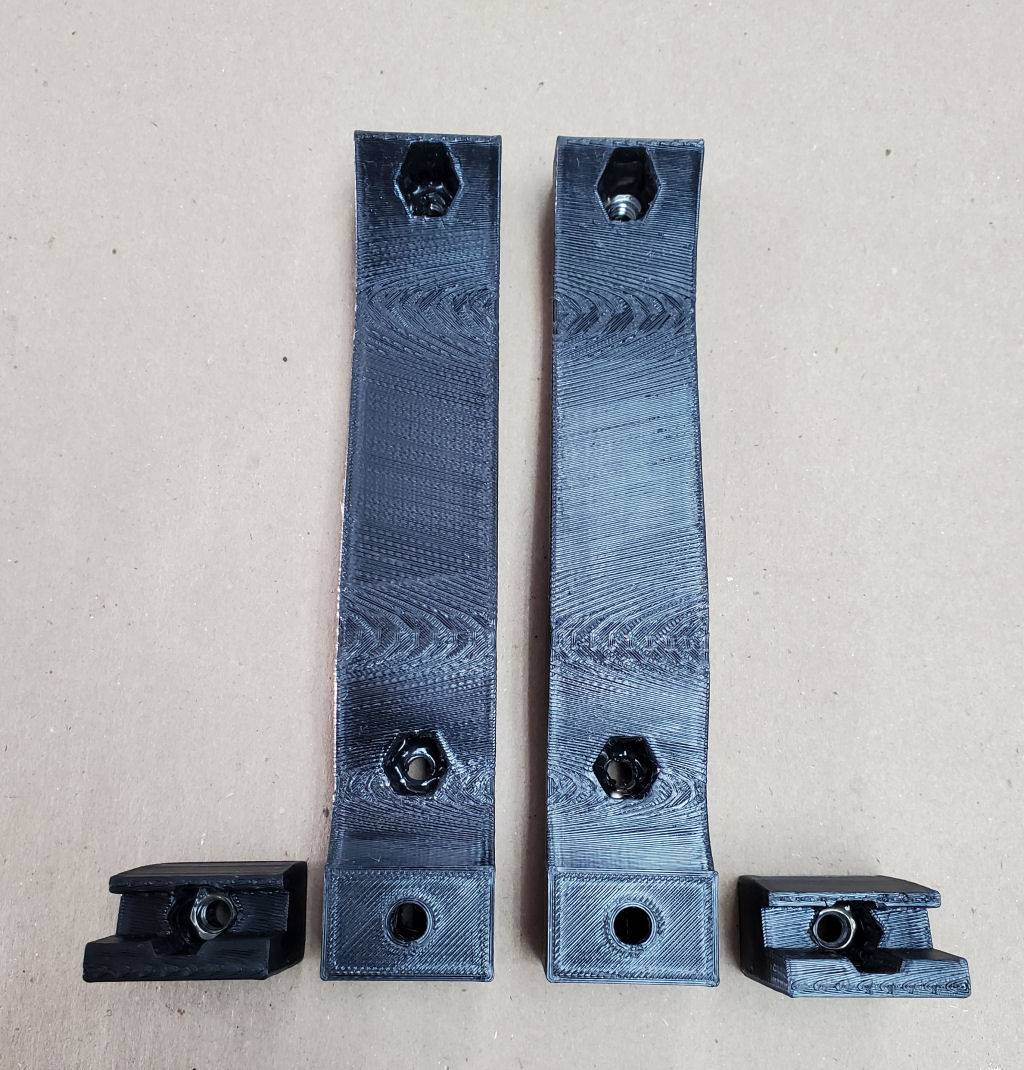
(Although I prefer metric fasteners, I used SAE bolt sizes since I have a very complete assortment of 1/4-20 black and stainless bolts and nuts. I expect 6mm hardware will fit as well)
The next thing I did was to put an adhesive backed fuzzy strip of Velcro on the back of each support. I then trimmed the sides of these strips with a razor knife so they fit the supports perfectly. I specifically sized the mounts to have about 1mm of distance between the support and the bumper when mounted (without the fuzzy Velcro). So, adding the soft Velcro strip fills this gap and provides a nice soft surface between the support and the bumper.
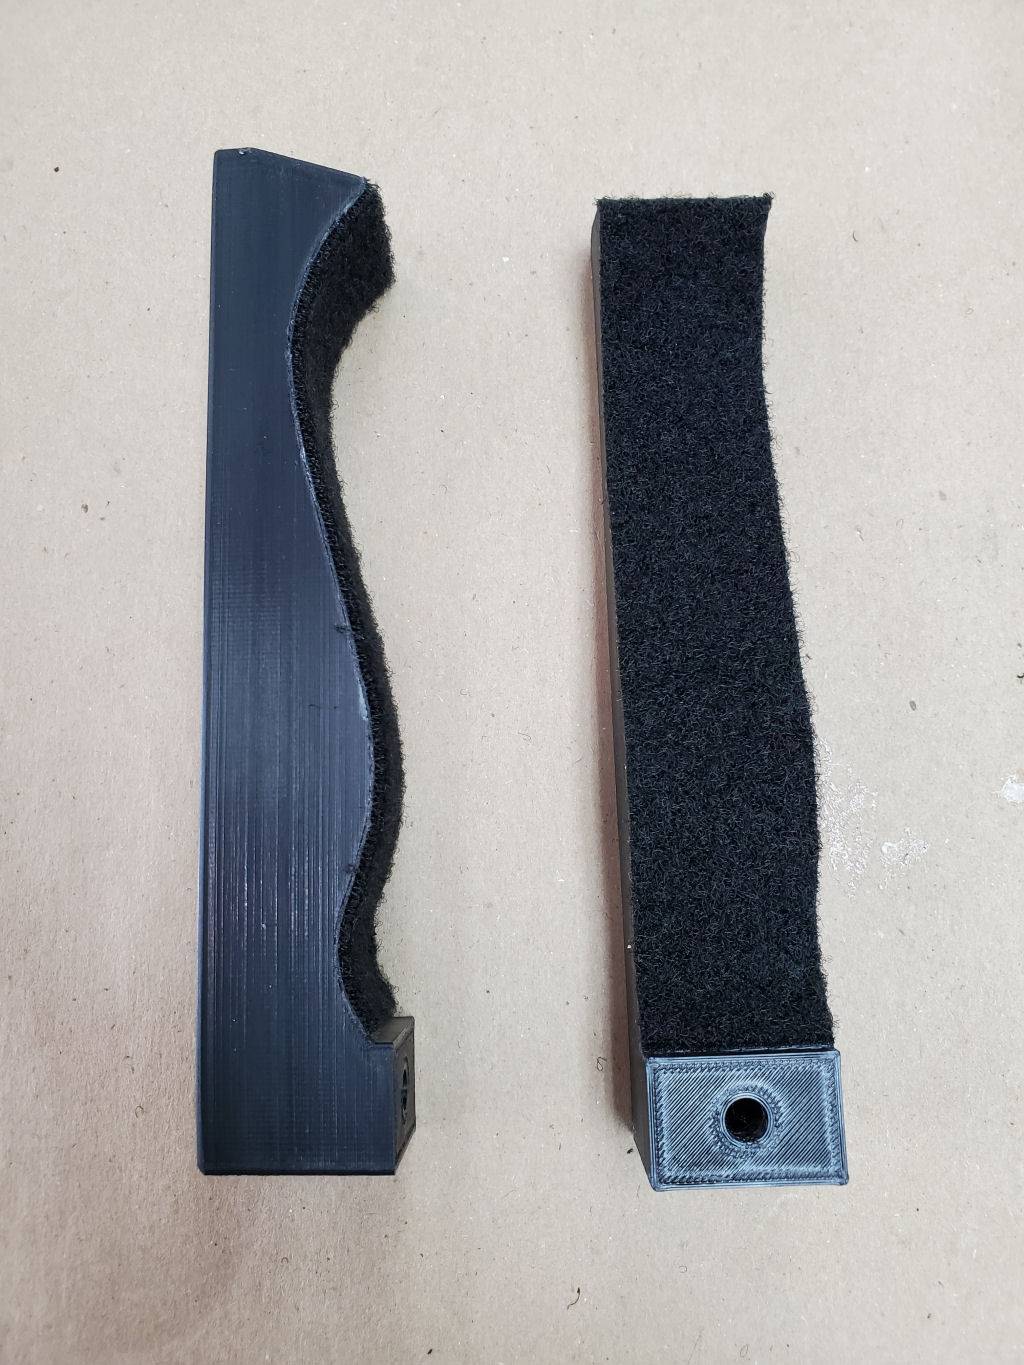
Also, the precise fit of the support w/Velcro provides a smooth contact area for the plate to push straight back on when at speed. This ensures very little torsional loading on the actual mounts attached under the bumper. Basically, at highway speeds, the plate would effectively stay in place without any mounts at all!
So, here is my car with no front plate or mounts installed at all (for reference):
...and here is my car with just the little mounting blocks installed. You will note that they coexist nicely with the front camera and a few other items in that little grill area. If you didn't know they were added, you would probably never notice them.
...and a close up of the mounts as installed:
Here is the vehicle with the Removable Plate installed. Note that it only takes two screws and a screwdriver to mount the plate!
A close up side view to show the fitment:
..and here is the Porsche Bracket temporarily (green Tape) mounted (for comparison):
Although you can mount your license plate directly to the supports, I also decided to laser cut a piece of 1/8 inch black acrylic to use as a backing plate to increase rigidity. While I was at it, I cut an alignment tool to help ensure the mounting blocks were perfectly centered. The tool uses the same ridges on the grill for alignment as does the Porsche front plate mount:
If you are going to print these yourself, I would note the following: Print them with ABS, as PLA is not intended to stand up to direct sunlight (it will "migrate") ...and the following installation tip: Use the alignment tool (or empty supports) to manually position the blocks when you attach them to the black plastic grill. Don't try and attach them using the supports and a plate pre-mounted. If you don't get the plate perfectly mounted to your supports then you risk not having the mounting blocks optimally seated. Seat the blocks first. The holes in the US License plates are actually a little larger than 1/4 inch so there will be a bit of play in the plate to align it AFTER the blocks are firmly attached. Get the blocks firmly seated and attached in the proper location first (use the alignment tool) - then worry about the supports and plate later.
UPDATE: See Notes in posting BELOW for updated adhesive recommendations.
Since I went through all the work to get the compound curves of the bumper laid down, and the design already has a 1mm gap to accommodate the fuzzy Velcro, it was a quick step to modify the supports to accept VHB tape for folks who want a more permanent plate attachment solution (instead of the Porsche bracket which requires drilling). The VHB tape essentially fills the same gap as the fuzzy Velcro so the support dimensions are basically the same. VHB Tape holds very well and is generally removable as it can be slowly (and CAREFULLY) peeled away from a surface without any damage. The VHB supports are also a bit shorter as they don't require attachment to any mounting blocks. So, if you want to try a "VHB Tape" mount, I have also included those print files as well. NOTE That virtually NOTHING sticks to a Ceramic Coating, so if you want to try a VHB Tape mount be sure a buff the coating away first if you have it (then reapply after attaching the supports). VHB should stick fine to naked PPF though...
I have attached the following set of files:
1. 3D Print Files (STL) for the mounts and supports
2. Optional Laser Cut Files (DWG, DXF) for Plate Bracket and Alignment Tool
3. 3D Print Files (STL) for the shorter VHB Mountable support variant
If anyone has any questions about the design, or desires more detailed installation information, please let me know. If you print and use this design please also let us know. Suggestions are also appreciated!
Update: I'm curious how well the epoxy will stick to the little black grill under the bumper. (If its made of polyethelyene then I might need to try a different adhesive). My epoxy is currently curing and I should be able to get a better idea of its relative holding capacity sometime tomorrow.
Sponsored
Attachments
-
52.9 KB Views: 483
-
27.8 KB Views: 521
-
101.9 KB Views: 386
Last edited:
")